This is my new favorite cookie. It is for this week, anyway. My kids and I invented cookies for a bake-off at the state fair, and this is one of the results. One of the others we made took first place, but this one is my personal favorite.
Contests are funny things anyway: you'd think the best-tasting item wins, but that's not necessarily the case. First of all, "best taste" always depends on who's doing the tasting. Or the judging, in this case. Secondly, cookies are given a score, and in this contest, only 40% of it is from how the cookie tastes. 30% is how attractive it ('and its surroundings) are, and 30% here was 'creativity', which, like taste, is very subjective.
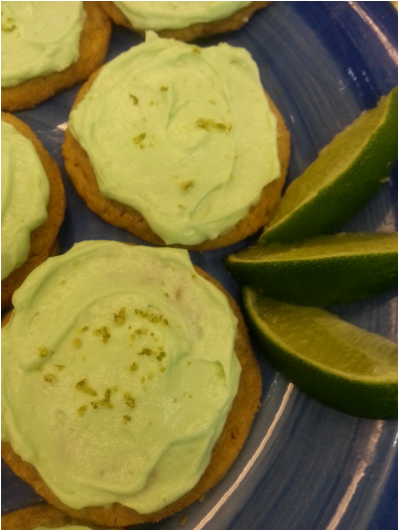
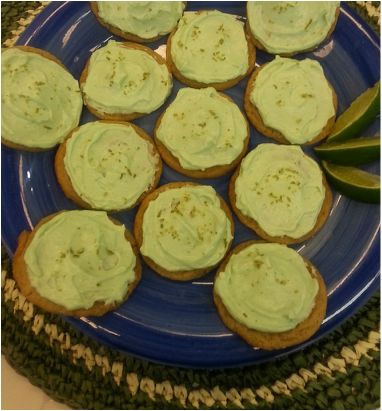
This cookie was dreamed up by a daughter who loves key lime pie, and wanted a cookie that tasted like it. You'll have extra frosting; you can make a half batch, or it can be frozen, or used to frost cupcakes, or spread on graham crackers... or eaten on a spoon!
My friend who dislikes frosting, likes this frosting.
Contests are funny things anyway: you'd think the best-tasting item wins, but that's not necessarily the case. First of all, "best taste" always depends on who's doing the tasting. Or the judging, in this case. Secondly, cookies are given a score, and in this contest, only 40% of it is from how the cookie tastes. 30% is how attractive it ('and its surroundings) are, and 30% here was 'creativity', which, like taste, is very subjective.
This cookie was dreamed up by a daughter who loves key lime pie, and wanted a cookie that tasted like it. You'll have extra frosting; you can make a half batch, or it can be frozen, or used to frost cupcakes, or spread on graham crackers... or eaten on a spoon!
My friend who dislikes frosting, likes this frosting.
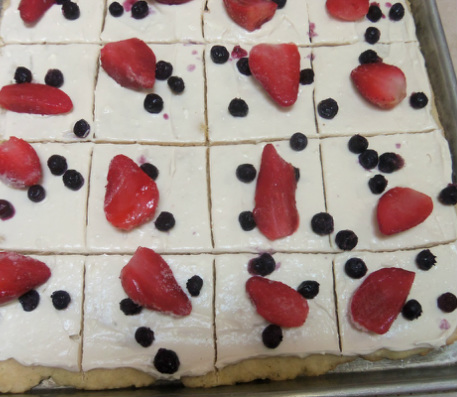
Creamy Lime Pie Cookies
Makes 2- 2 ½ dozen
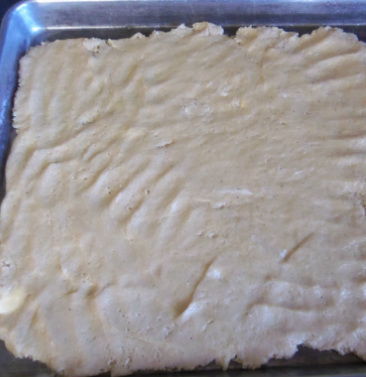
Graham Cracker Sugar Cookie:
¾ c. granulated sugar
½ c. butter or shortening or coconut oil
1 egg
1 tsp. vanilla
1 sleeve graham cracker, finely crushed (about 1 ½ c.)
½ tsp. salt
½ tsp. baking soda
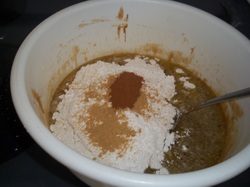
1 c. flour
¼ c. limeade concentrate, thawed.
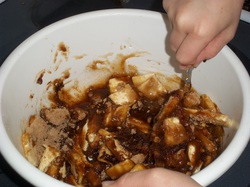
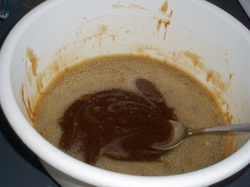
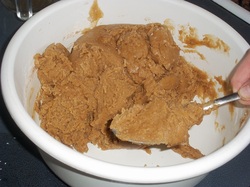
Heat oven to 375 degrees. Cream shortening and sugar, add egg and vanilla. Add cracker crumbs, salt, and baking soda; beat well. Mix in flour. Drop by heaping spoonful on lightly greased cookie sheet. Bake 7-8 minutes. Let cookies cool two minutes, then brush with the limeade concentrate. All of it should be gone once all cookies are brushed. Cool completely before frosting generously with Creamy Lime Frosting.
Creamy Lime Frosting
1 cube butter
2 c. powdered sugar
1 ½ tsp. vanilla
1/16 tsp. salt
4 drops green food color, optional
¼ c. limeade concentrate, mostly thawed
8 oz. cream cheese, still cool, cut in 1” cubes
In a medium bowl, combine butter, powdered sugar, vanilla, salt, and green food color. Beat until fluffy. Add limeade concentrate and whip the mixture. Add cream cheese, a couple cubes at a time, and beat until mixed thoroughly. Beat on high until light and fluffy, but don’t overbeat or it will go runny.
Makes 2- 2 ½ dozen
Graham Cracker Sugar Cookie:
¾ c. granulated sugar
½ c. butter or shortening or coconut oil
1 egg
1 tsp. vanilla
1 sleeve graham cracker, finely crushed (about 1 ½ c.)
½ tsp. salt
½ tsp. baking soda
1 c. flour
¼ c. limeade concentrate, thawed.
Heat oven to 375 degrees. Cream shortening and sugar, add egg and vanilla. Add cracker crumbs, salt, and baking soda; beat well. Mix in flour. Drop by heaping spoonful on lightly greased cookie sheet. Bake 7-8 minutes. Let cookies cool two minutes, then brush with the limeade concentrate. All of it should be gone once all cookies are brushed. Cool completely before frosting generously with Creamy Lime Frosting.
Creamy Lime Frosting
1 cube butter
2 c. powdered sugar
1 ½ tsp. vanilla
1/16 tsp. salt
4 drops green food color, optional
¼ c. limeade concentrate, mostly thawed
8 oz. cream cheese, still cool, cut in 1” cubes
In a medium bowl, combine butter, powdered sugar, vanilla, salt, and green food color. Beat until fluffy. Add limeade concentrate and whip the mixture. Add cream cheese, a couple cubes at a time, and beat until mixed thoroughly. Beat on high until light and fluffy, but don’t overbeat or it will go runny.


 RSS Feed